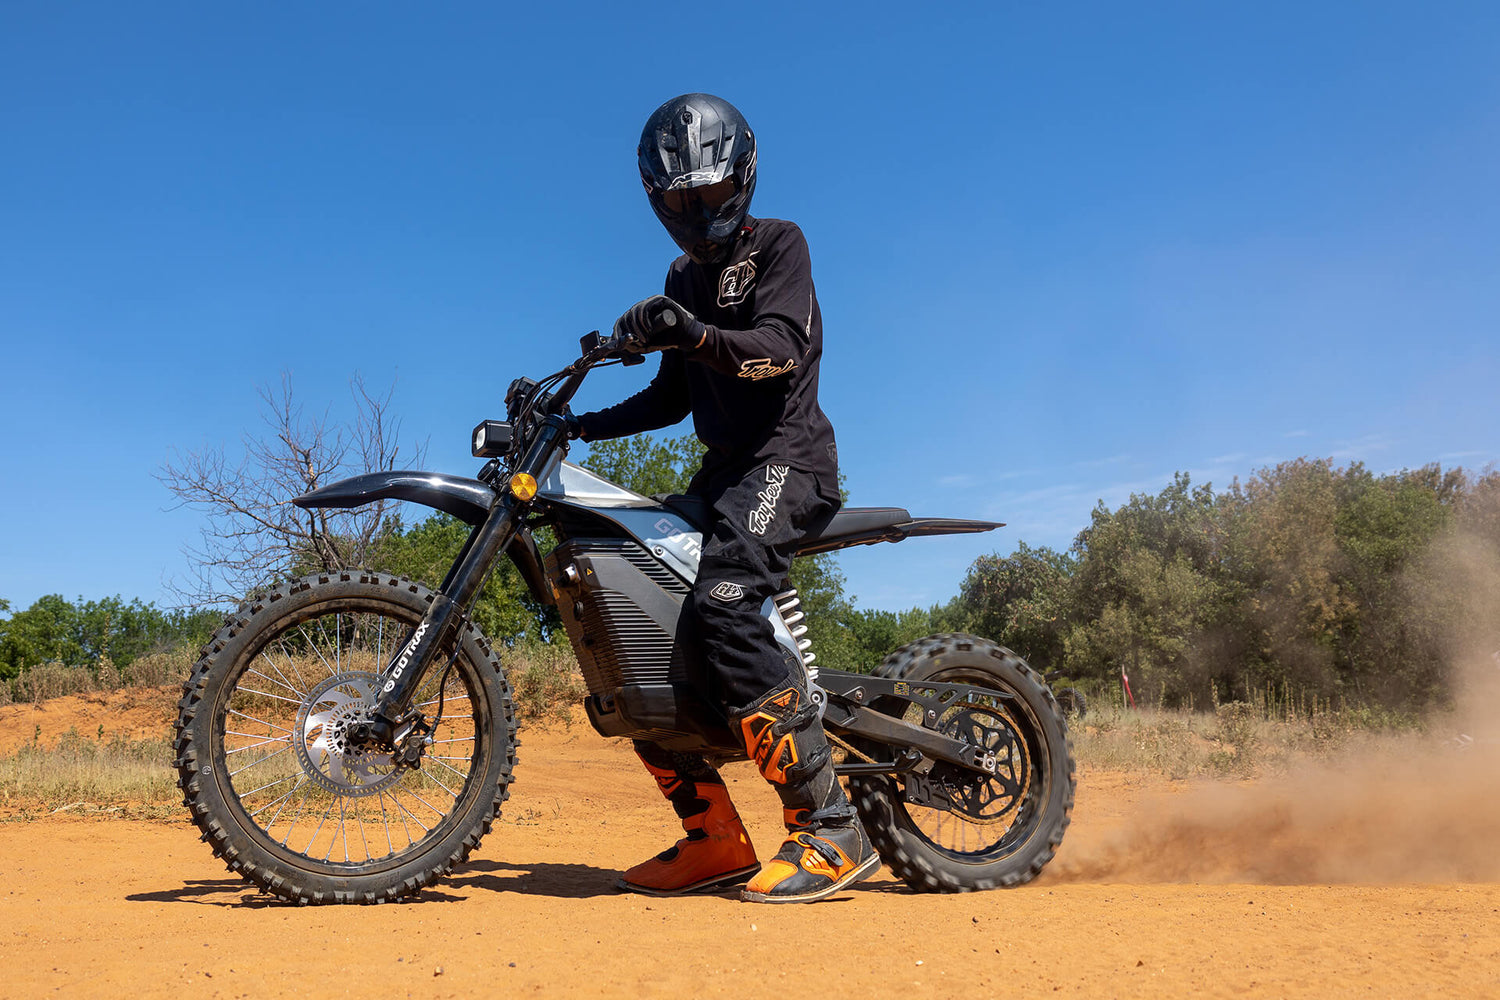
The Everest electric dirt bike has arrived. The first of it's kind from GOTRAX is sure to excite some of our more adventurous riders who are looking to take it to the next level. Just seeing the words 'dirt bike' can lead people to think of an incredible complex piece of equipment that is going to take ages to set up. However, this electric dirt bike already comes 90% assembled. All you really have to do is attach a few things and you'll be ready to ride. This is how to build the Everest electric dirt bike.
First you'll have to remove the outer packaging which includes a sturdy metal frame. The metal frame can be removed with the use of a flat-head screwdriver and hammer or mallet. Just find certain key points to apply pressure and pry off the top of the frame. Please be careful when removing the metal frame and sometimes sharp edges can cause injury. Once the frame is open, remove the straps holding the electric dirt bike in place so you can continue to remove the frame.

Once you remove the metal frame, open both of the brown boxes. They contain the front wheel, charger, and multi-tool. You'll use the multi-tool to remove the handlebar clamp. You can then insert the handlebar and position properly before securing the handlebar clamp back into place. Next, you'll need to use the large allen wrench to disconnect the front fork from the metal frame. You can then attach the front tire. You will have to lift the Everest to attach the front tire so place something underneath, use proper equipment, or ask some friends to assist in elevating it off the ground. Then attach the front brake caliper to the brake bracket and disc brake. Adjust this until it feels comfortable and secure before you ride.

Just a few more steps and you'll be ready to go. Attach the front fender by screwing in the appropriate place in between the front fork, directly under the front LED headlight. You will then attach the seat by first adding the metal seat frame followed by screwing the seat onto the frame. The metal frame will have the rear fender already attached to it so you won't have to worry about that. Finally, attach the pegs or foot rests to either side. The pegs will be labeled on which side they are meant to go on. Once you've attached the side rails and reflectors you are all set. If you have any questions about the assembly be sure to double check your manual or reach our to support@gotrax.com to get in touch with our Customer Support Team. Remember to ride safely and always wear your helmet.
Ride Together. Ride GOTRAX.


